

Painting a Puffin step by step
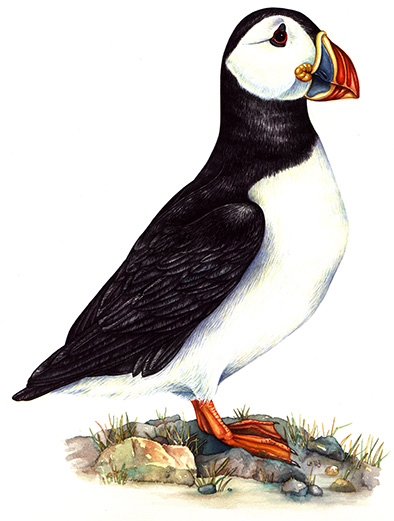
When completing a natural science or scientific illustration of a species like the puffin, the process differs for each animal. It depends on what reference you have (photos, stuffed specimens, or the living plant or animal); and how long you have to complete the job.
There are some general steps which are common to the evolution of all my illustrations, and for this blog I’ll use my illustration of a puffin to show what I mean.
Painting a puffin: Materials
Set up your equipment. This is a watercolour, so I use Fabriano Artistico 100% cotton hot press paper which is nice and smooth. I draw out the animal in pencil (I favour Pentel P205 mechanical with an HB 0.5mm lead) and a soft eraser. I also get my watercolour box (Winsor & Newton), water pot (jam jar), brushes (Winsor and Newton again, series 7. Highly expensive but vital as they keep their point), and blotting paper (loo roll). I’ll ready to begin.
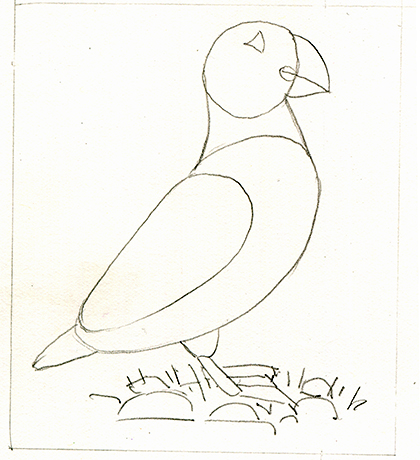
Sorting the Puffin basic body shape
First step is to get the basic shapes of the body sorted. Get the head the right size in comparison to the body, and double check things like beak size and body length against your reference. Plot how the animal will interact with its immediate surroundings (stones, grass etc.)
Add more detail to the puffin
Next, add more detail. I draw this in with pencil, keeping it light.
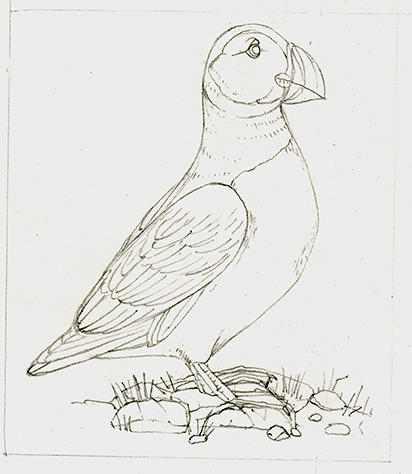
Bear in mind the anatomy of the animal; which feathers serve which function, how many toe bones each foot contains and where they’ll bend.
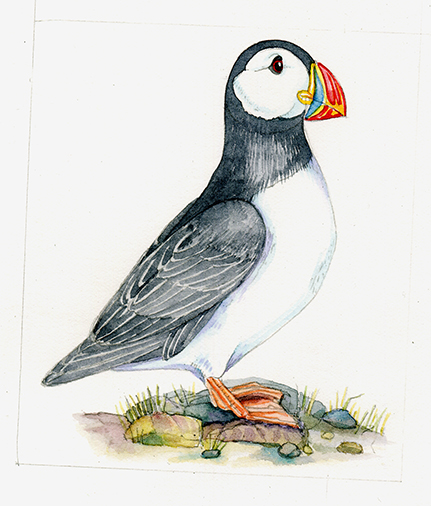
Adding colour to the Puffin.
Mix your colours with care; remember, you can always add to watercolour to make it darker but it’s really hard to lighten it once it’s on the page. Leave areas of paler colour (the shine on a beak, chest feathers) white, you can work into the tonality of them with pale colours later.
I apply my watercolour quite dry, even at this stage, preferring to work up richness of colour with incremental layers of tiny strokes of the brush rather than a wash.
Saying that, I also quite enjoy mixing wet colours on the page at this stage, especially to give a more organic feel to the stones and grasses at the subject’s feet.
Add detail to the Puffin
Next, work into the detail with a little brush (say a size 1 or 0). Here, I use the colour quite dry and solid, with lots of repeated tiny brush strokes to build up the vivid colours or the glossy blacks. Often I’ll finish the piece by applying a very wet and lightly coloured wash over the whole; this removes none of the detail or intensity of colour, but unifies the disparate colours rather nicely. As before, be sure to leave white areas of the paper to shine through the paint in areas of pale colour or shine. Most of the white on this puffin is simply plain paper, with just the occasional suggestion of feathers (in a pale cerulean blue mixed with violet) giving the impression of shadow and thus of the feathery texture of the bird.
And there you have it. It’s all a matter of getting the initial shapes right, and then building into the colour and detail. And this is the approach I take to every watercolour painting that I do.
For more animal step by steps, please check out my blogs.