

Flower Anatomy workshop
Why learn botany?
I recently taught a workshop at the wonderful Walled Garden in Treberfydd on flower anatomy. I think it’s vital for botanical illustrations to be well-informed about their subject matter. To this end I think botanical illustrators need to learn some of the basics of how flowering plants are put together. One of the best ways to do this is to learn through drawing. You can discover and learn as you explore a specimen.
We began with a brief overview of flower anatomy. Obviously this varies enormously from family to family. But if you can recognize basic parts such as the stamen, pistil, sepal, anther and style things become a little clearer as you draw. For more on this, please check out my blog on basic botanical terms.
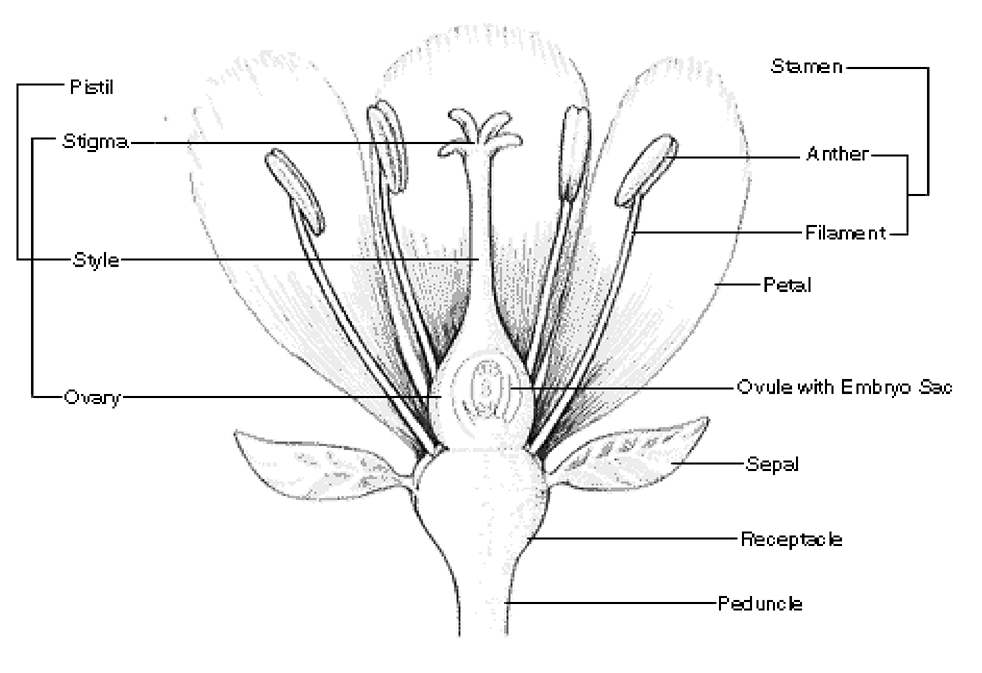
One of the diagrams on a handout on plant anatomy. Dry, but important information
Drawing from life
We gathered some of the lovely plants at the Walled Garden. The group observed, dissected, examined, and drew a variety of different shaped flowers. They tried to find the anatomical features in each. Sometimes these studies turn up new and exciting facts, I spotted stamens on the underside of iris petals (a fact I’d never clocked before) and we had a lot of fun sorting out the reproductive structures in a Salvia bloom.
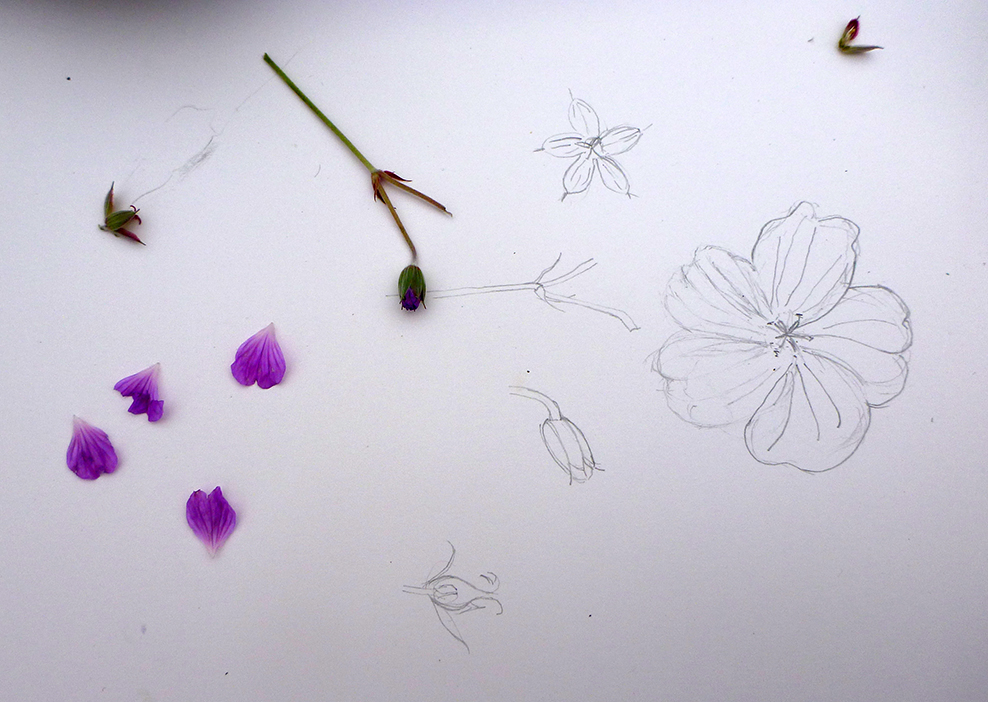
Sketch examining the structure of a Cranesbill
Having a couple of good reference books on hand is always wise. I had The Cambridge Glossary of Botanical Terms by Hickey and King, The Kew Plant Glossary by Henk Beentje, and Understanding the Flowering Plants by Anne bebbington, along with some trusty Stella Ross-Craig illustrations.
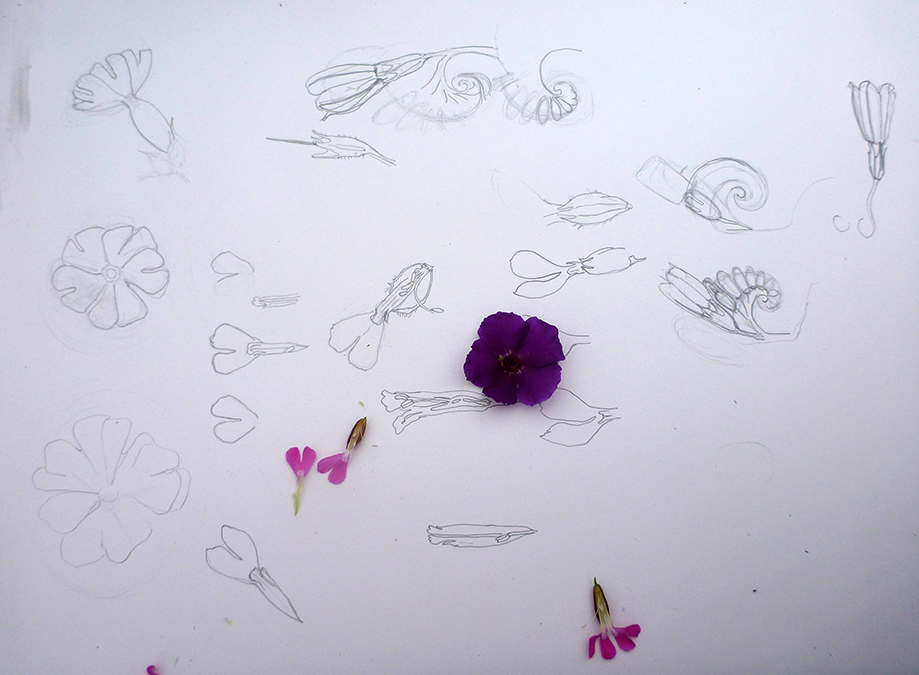
Studies of the anatomy of the Red campion, Silene dioica
I was lucky that my students were as excited and enthusiastic about discovering the minute details of the flowers they were examining as I was. The time flew past.
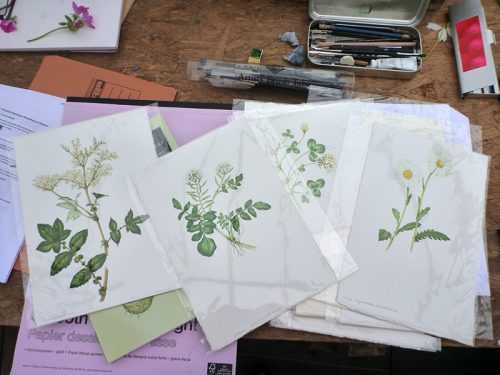
Examining flowers with watercolour
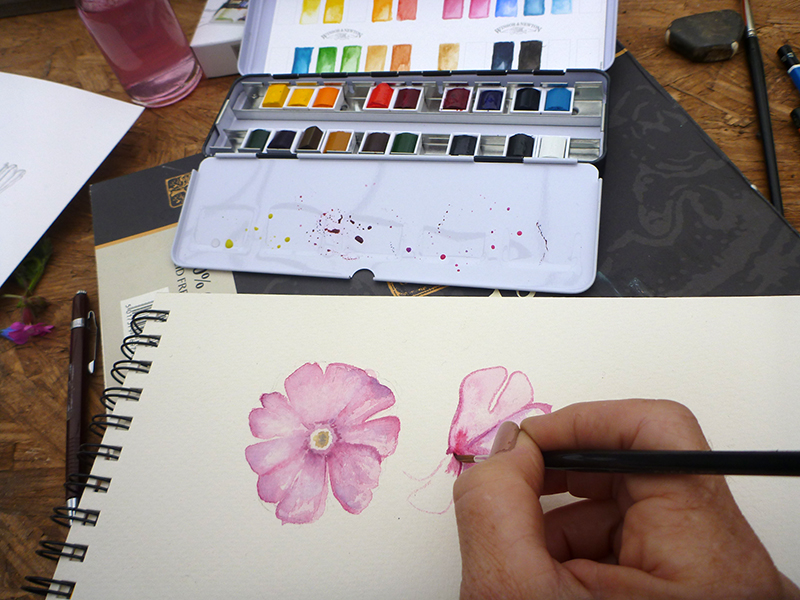
I asked them to focus on one of the flowers they’d dissected and studied. They used their watercolours to start a colour portrait. So many flowers are in bloom at the Walled Garden that it was hard to choose an individual plant. Finally they settled on a few. Some painted Campanula (bell flowers), some chose Compositae daisies, and others turned their attention to the Geranium Cranesbills or Papaver Poppies.
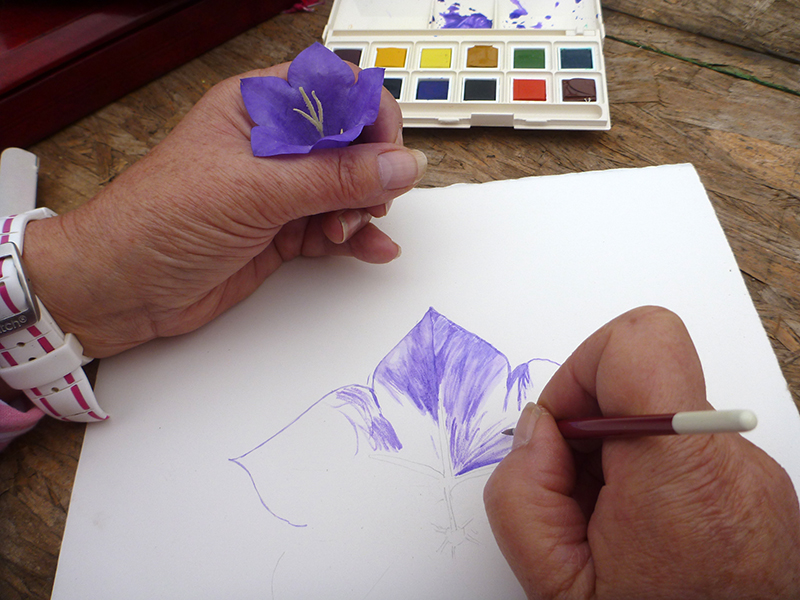
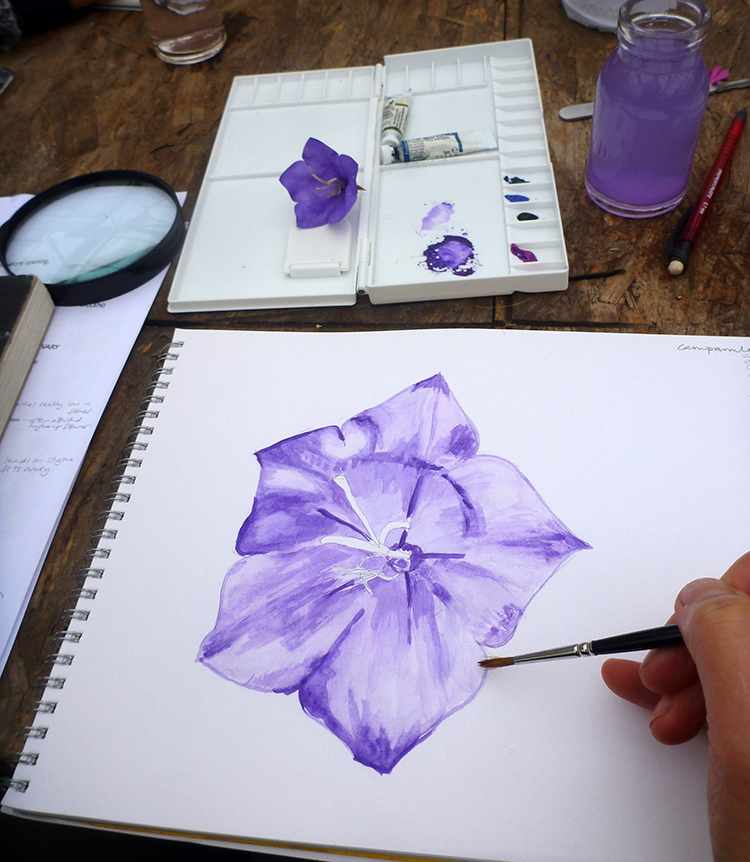
Painting a bell flower, focussing on the lights and darks as well as the internal anatomy of the bloom
We talked about using watercolour, following the flow of the brush as you move the paint on the page and how important it is to make colours paler by mixing in water rather than adding white paint.
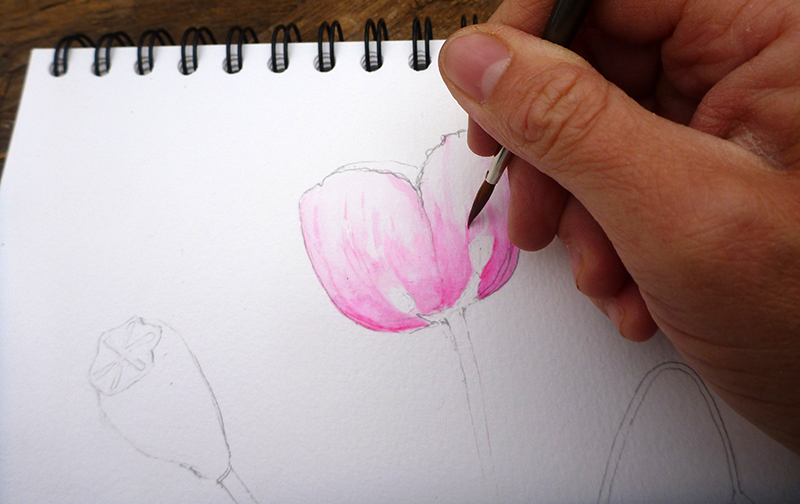
Laying down pale washes of Opera Rose pink watercolour on an illustration of a Poppy.
Lots of the flowers examined were bright pink, so we all tried out the ridiculously bright Opera Rose watercolour paint which is an absolute necessity for botanical illustration.
Watercolour studies of Studies of the anatomy of the Red campion, Silene dioica
A very delicious lunch was included in the price of the course. It was made by Alison who owns the Walled Garden, using plants growing there. Refreshed, we continued with the plant portraits.
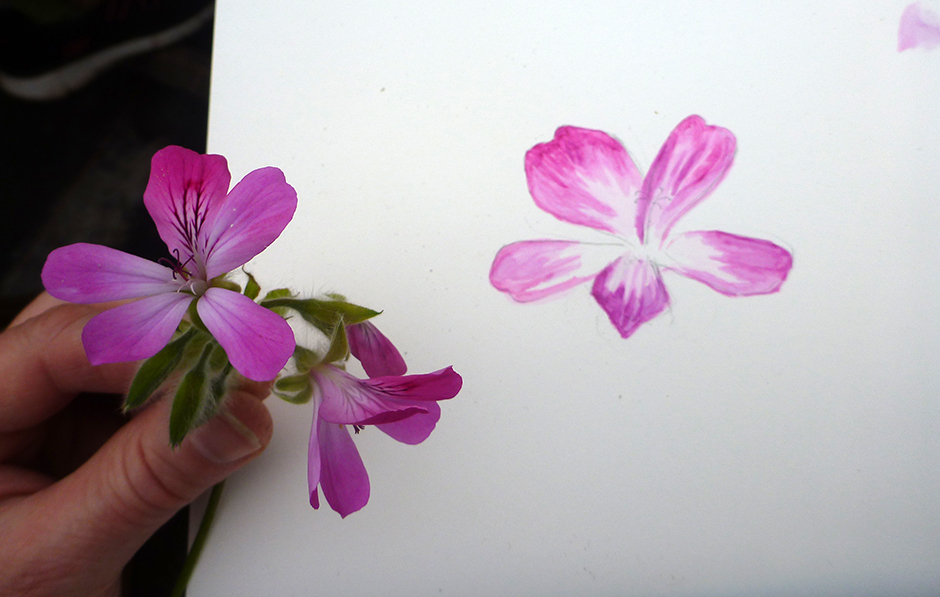
Colour study of a Cranesbill cultivar
Once these portraits were completed, there was time for one more series of excersizes before the day finished.
Finishing up the petal details of the Bell flower
Painting white flowers
One of the ongoing problems for botanical illustrators is how to illustrate white flowers, which are very common. The paper one paints on is white. So the question is, what techniques can you use to show the distinction between paper and blossom? I wanted to share some of these with my students. (I’ve also done a blog on the topic).
First, we had a quick look at some of my botanical illustrations of white flowers. I pointed out the four techniques I used to capture them. First, put foliage behind them so they stand out. Second, use pencil to outline the petals. Third, use very vey pale washes to give body to the white petals. Finally, add an incredibly pale background wash to the paper behind the flower to provide contrast.

Various botanical illustrations by me of white flowers using a variety of techniques to illustrate the white petals.
I did a swift demo of how to keep washes very pale, and how to blend them imperceptably with the paper, then it was the student’s turn to give it a go.
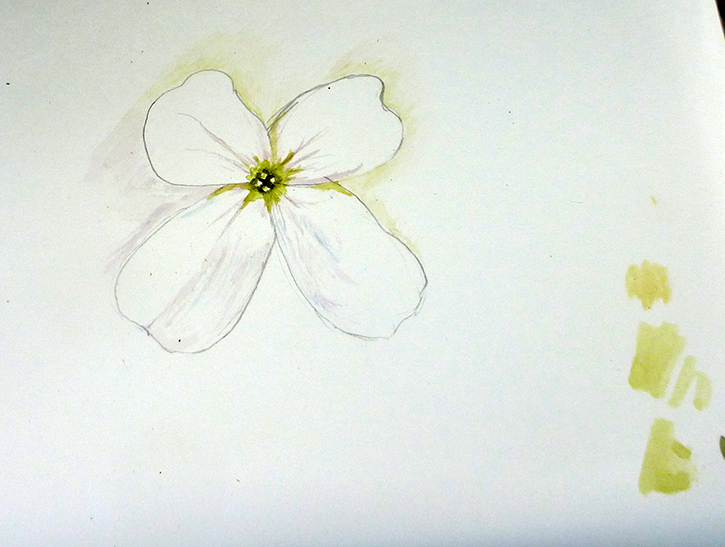
Painting white flowers: In this instance the student has left pencil line, added very pale watercolour to the petals, and popped in a delicate green wash behind the flower.
You can use several of these techniques simultaneously, or each one in isolation.
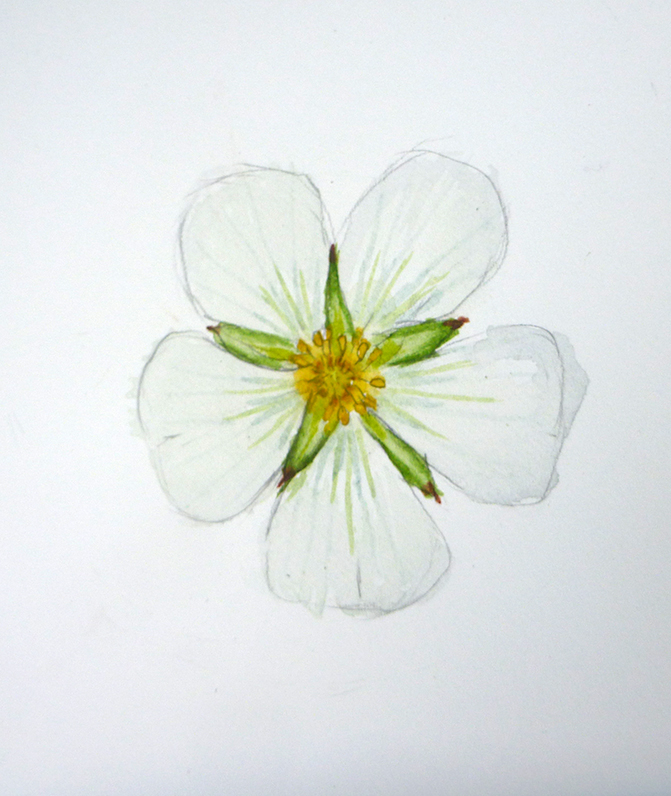
Painting white flowers: Here the student has used a pale wash on the petals. Once dry, they rubbed out the pencil lines.
Painting White flowers: Here another student has relied on pale pencil lines to show the edges of the petals
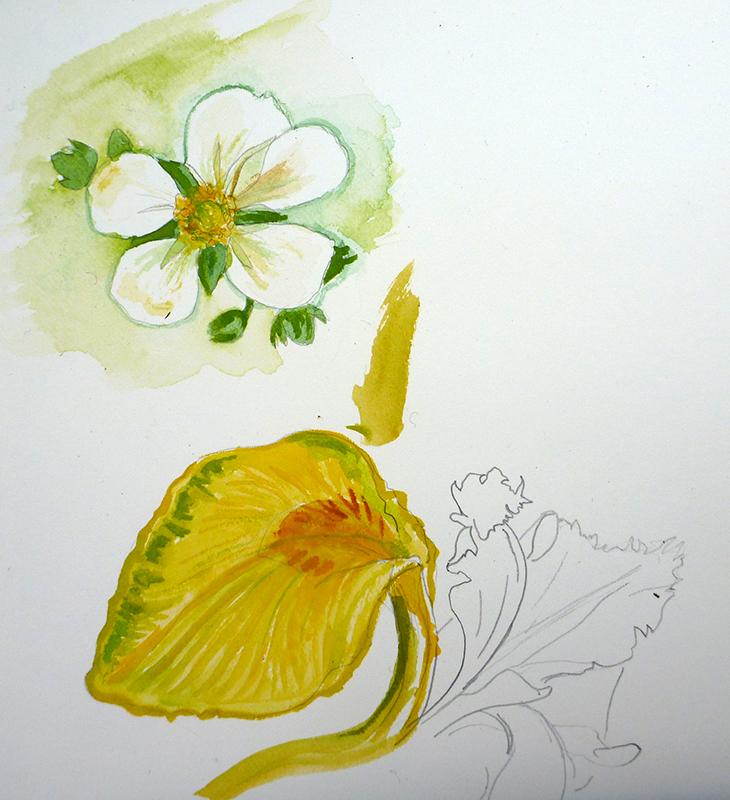
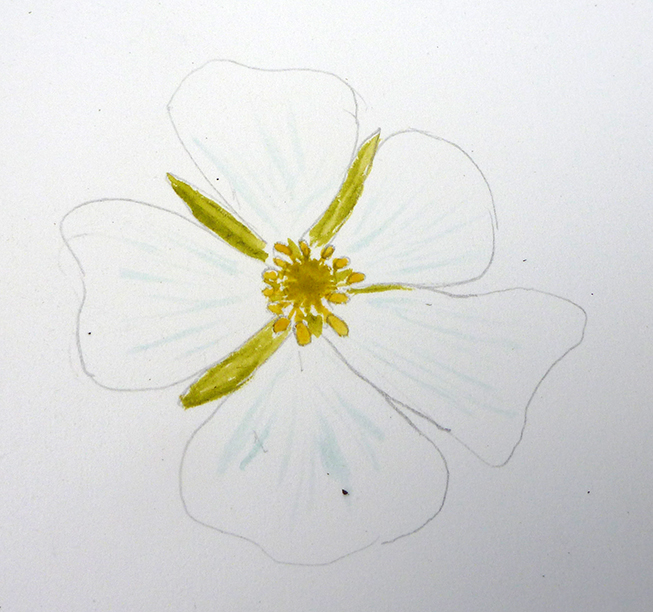
Painting white flowers: This student went for a heavier green background wash, along with foliage behind the white flower (Yellow flag iris study below)
As perhaps you can guess from the sketchbook page above, we also touched on mixing different yellows, looking for greens and oranges within these sunny hues. I did a swift demo and some of the students had time to practice mixing up yellows for themselves.
By the end of the day the students had produced a lot of good work, and were thoroughly exhausted (anyone who says drawing and painting is relaxing has no idea!). I know they went away inspired by the tiny details and function of flowers around us, and hope I managed to give them some tips on how to record these in pencil and in paint.